From Imagination to Reality: How to Create a Design Vision Board
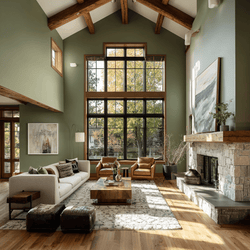
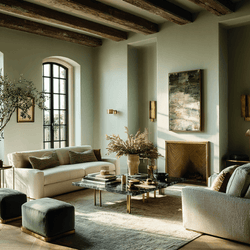
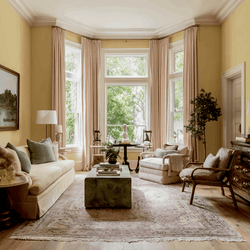
Whether you’re planning a fabulous trip, establishing your life goals, or, in this case, designing your home, having a creative reference is key to actualizing that which is uniquely YOU. There’s something so freeing about letting your mind wander to all things inspiration: art, literature, nature, and color. Most importantly, to see what you innately connect with and what most accurately represents you and brings you JOY.

The greatest value of a picture is when it forces us to notice what we never expected to see. - John Tukey
Here, I’ll break down how to create a Design Vision Board, which will help you determine your direction and style as they relate to colour, shape, texture, and pattern.
Step 1: Brainstorm

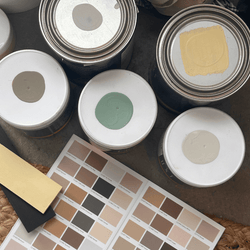
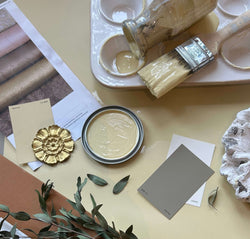
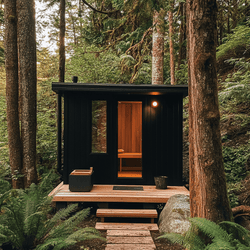
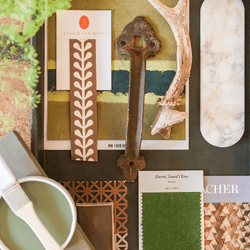
Think of this first phase of the vision board as a genuinely creative and carefree exercise. Have some tea, a glass of wine, anything that gets your creative juices flowing, and look around you, at nature, in magazines, online, and pull all the things that you connect with. Comb through all your resources, including your imagination, and collect any samples you currently have (or want). Remember, they don’t have to necessarily be interior design specific. It can be a colour, or the pattern of a leaf (make sure to take a picture). These are ideas that can be laid out roughly for reference, knowing that it’s not the final working edition.
Consider this a labour of love. All your hard work will certainly be worth it when you see your space come together in a way that's personal to you.
Your visuals should consider the following:
- Your motivation for the space (your “why”)
- Colour Inspiration (this is often a launching point)
- Emotion/feel (write or cut out the words that best express this)
- Visual objective. This phase can be done with a design consultant (if you are using one) and should be as uncensored as possible. It opens the door to all of our ‘what if’ ideas, no matter how offbeat they might be, you never know where it could lead!
Step 2: Edit the Board & Outline a Budget

- Consider the actual space
- Draw this out with all measurements and note its light and hard surfaces
- Address all of the critical elements and architectural details (i.e., edit down from the vision board and start to focus on what will actually work in the context of the space.)
- I suggest considering a line item budget in this phase. If a piece is a “must have it,” but it pushes you over budget, you can review what to remove from the line item numbers.
Step 3: The Final Working Template: Transforming Your Board into Reality


Whether your more comfortable with a tangible board or compiling everything online, the choice is yours!
This will be your design schematic and storyboard, where everything is considered in relation to each other. Every piece needs to earn its place. Everything gets checked (and re-checked ) for scale, colour, functional objectives, texture, feel, and so on. Don’t be alarmed if there are changes in this phase: better to know now than during installment (so be sure to know all your measurements).
I like to have a 48-hour (or 72 if you’re a bigger procrastinator) window to think things through before moving ahead with any purchases. This allows me to pay attention to anything that might surface to rethink and re-edit.
Vision Board Resources:
I've gathered some websites and apps that can help you create a Vision Board online.
- Canva www.canva.com is a free site to easily help you create a digital version of your board. Here is a simple overview of how Canva can work for vision boards: https://www.youtube.com/watch?v=1l7fwvZzqD4
- Sampleboard www.sampleboard.com - they give a free trial offer so you can use their service to create a single vision or design board.
- Niice is expensive at $99 monthly but for more advanced tailored looking vision boards it delivers. 5 boards free to get started.
- Morpholio (App) https://www.morpholioapps.com/board/ is an app directed toward design professionals but has lots of fun bells and whistles!
- Moodboard App is free and offers a clean, simple easy to navigate layout.
- The Matboard App - much the same as Moodboard


